")
Introduction
In my experience, one of the most important aspects of maintaining a healthy engine is inspecting the crankshaft for wear and damage. Frankly speaking, a faulty crankshaft can lead to catastrophic engine failure, which is something every auto enthusiast wants to avoid.
Understanding the Crankshaft
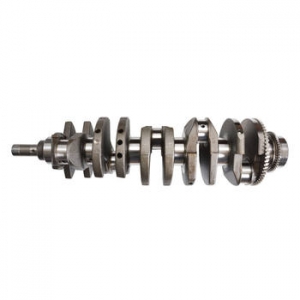
Before diving into the inspection process, it's essential to understand the role of the crankshaft in an engine. The crankshaft is responsible for converting the reciprocating motion of the pistons into rotational motion, which drives the vehicle's wheels. Over time, wear and damage can occur due to various factors such as improper lubrication, excessive heat, or mechanical stress.
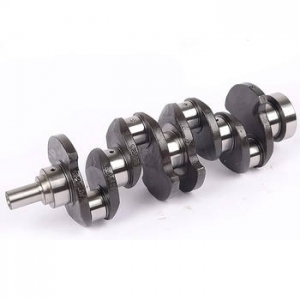
Components of a Crankshaft
Inspecting the Crankshaft
Now that we have a basic understanding of the crankshaft's components, let's delve into the inspection process. To be honest, it's not as daunting as it may seem; with the right tools and knowledge, you can easily perform a crankshaft inspection.
Step 1: Cleaning the Crankshaft
Before inspecting the crankshaft, it's crucial to clean it thoroughly. Use a degreaser and wire brush to remove any dirt, grime, or oil residue. This will enable you to examine the crankshaft's surfaces more accurately.
Step 2: Checking for Visual Damage
Once the crankshaft is clean, visually inspect it for signs of damage such as cracks, scoring, or excessive wear on the bearing surfaces. Pay close attention to the main and rod journals, as these are the most critical areas.
Step 3: Measuring Journal Diameters
Using a micrometer or bore gauge, measure the diameter of the main and rod journals. Compare these measurements to the manufacturer's specifications. If the journal diameters exceed the acceptable tolerances, the crankshaft may need to be replaced or reground.
Step 4: Checking for Taper and Out-of-Round Conditions
Inspect the journals for taper and out-of-round conditions by taking multiple measurements at different points along their length. Any significant deviations from the specified dimensions could indicate a damaged crankshaft.
Conclusion
Regularly inspecting your crankshaft for wear and damage is an absolute necessity to ensure the longevity of your engine. By following the steps outlined in this guide, you'll be able to confidently assess the condition of your crankshaft and make informed decisions regarding maintenance and repairs. Don't ignore the signs of a worn-out crankshaft – it could save you from costly engine repairs down the road.