")
Introduction
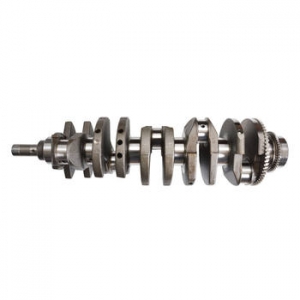
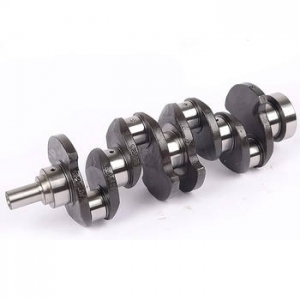
Have you been experiencing engine trouble lately? To be honest, it might be time to consider replacing your worn 1ZZ crankshaft, especially if you have a 13401-22010 or 13401-22020 application. In my experience, a faulty crankshaft can lead to serious engine damage, so it's better to address the issue before it's too late.
Why Replace Your Crankshaft?
The crankshaft is one of the most critical components of your engine. It's responsible for converting the linear motion of the pistons into rotational motion, which drives the wheels of your vehicle. Over time, however, the crankshaft can become worn, damaged, or even cracked, which can cause a variety of engine problems. If you're experiencing issues such as engine knocking, reduced performance, or oil leaks, it might be time to replace your crankshaft.
Choosing the Right Crankshaft
When it comes to replacing your 1ZZ crankshaft, it's essential to choose the right one for your specific application. For 13401-22010 and 13401-22020 applications, you'll want to look for a high-quality replacement crankshaft that meets or exceeds the original equipment manufacturer (OEM) specifications. This will ensure that your engine runs smoothly and efficiently, without any unexpected issues.
Finding the Right Supplier
Finding a reputable supplier is absolutely necessary when it comes to buying a replacement crankshaft. Look for a supplier that specializes in engine components and has a good track record of providing high-quality products. You may also want to read reviews and ask for recommendations from other car enthusiasts or mechanics.
Replacing Your Crankshaft
Once you've chosen the right crankshaft, it's time to replace your worn one. This is a complex process that requires specialized tools and expertise, so unless you're an experienced mechanic, it's best to leave it to the professionals. However, here's a general overview of the steps involved:
Step 1: Removing the Old Crankshaft
The first step is to remove the old crankshaft. This involves draining the engine oil, removing the engine mounts, and disconnecting the timing belt or chain. Once you have access to the crankshaft, you'll need to remove the main bearing caps and gently tap out the old crankshaft.
Step 2: Cleaning and Inspecting the Engine Block
Before installing the new crankshaft, it's essential to clean and inspect the engine block. This will help ensure that the new crankshaft fits properly and that there are no lingering issues that could cause problems down the line.
Step 3: Installing the New Crankshaft
With the engine block clean and inspected, it's time to install the new crankshaft. This involves carefully aligning the crankshaft with the main bearings, installing the main bearing caps, and torqueing them to the proper specifications. You'll also want to install new main bearing seals and oil plugs.
Step 4: Reassembling the Engine
Once the new crankshaft is installed, it's time to reassemble the engine. This involves reinstalling the timing belt or chain, engine mounts, and any other components that were removed during the crankshaft replacement process. Once everything is back in place, you can fill the engine with oil and start it up.
Maintaining Your New Crankshaft
Congratulations! You've successfully replaced your worn 1ZZ crankshaft. However, your work isn't done yet. To ensure that your new crankshaft lasts as long as possible, it's essential to maintain it properly. This involves regularly changing the engine oil, checking for leaks, and keeping an eye out for any unusual engine noises or performance issues.
Conclusion
Replacing a worn 1ZZ crankshaft can be a daunting task, but it's absolutely necessary to keep your engine running smoothly. By following the steps outlined in this guide and choosing the right crankshaft and supplier, you can ensure that your engine repair goes off without a hitch. And with proper maintenance, your new crankshaft should last for many miles to come.