")
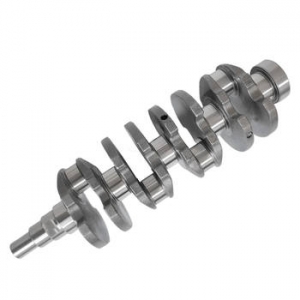
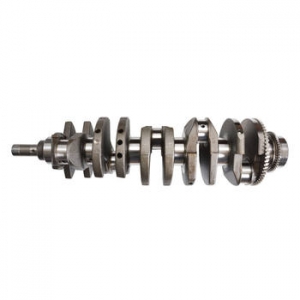
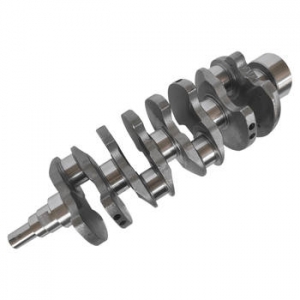
Understanding the Hyundai Crankshaft
The crankshaft is a critical component of your Hyundai's engine, converting the linear motion of the pistons into rotational motion to turn the wheels. When the crankshaft is damaged or worn out, it can cause severe engine problems. However, you can replace the crankshaft yourself in your garage with some mechanical knowledge and the right tools. This article will guide you through the process of replacing a Hyundai crankshaft step by step.
Gather Your Tools and Parts
Before you begin the replacement process, make sure you have all the necessary tools and parts on hand. You will need a socket wrench set, a torque wrench, a crankshaft pulley removal tool, a new crankshaft, and new main bearings. It's also a good idea to have a repair manual specific to your Hyundai model for reference. Having everything you need before you start will save you time and frustration.
Removing the Old Crankshaft
To access the crankshaft, you will need to remove several engine components, including the oil pan, timing cover, flywheel, and harmonic balancer. Once you have access to the crankshaft, use the crankshaft pulley removal tool to remove the pulley and the bolt holding the crankshaft in place. Carefully lift the old crankshaft out of the engine, taking care not to damage the main bearings.
Installing the New Crankshaft
Before installing the new crankshaft, clean the engine block and the main bearing surfaces thoroughly. Apply a thin layer of engine oil to the main bearings and the crankshaft journals. Slide the new crankshaft into place, making sure it's properly aligned with the main bearings. Use the torque wrench to tighten the crankshaft bolt to the manufacturer's recommended specification.
Reassembling the Engine
With the new crankshaft installed, it's time to reassemble the engine. Replace the harmonic balancer, flywheel, timing cover, and oil pan in reverse order of removal. Make sure all components are properly secured and torqued to the manufacturer's specifications. Fill the engine with new oil and check for leaks before starting the engine.
Testing the New Crankshaft
Once the engine is reassembled, start it up and let it idle for a few minutes. Check for any unusual noises or vibrations, and make sure the engine is running smoothly. Take the Hyundai for a test drive to ensure the new crankshaft is functioning properly. If everything checks out, you have successfully replaced the crankshaft in your Hyundai.
Conclusion
Replacing a Hyundai crankshaft in your garage may seem daunting, but with the right tools and knowledge, it's a task you can accomplish on your own. This article has provided you with a step-by-step guide to replacing a Hyundai crankshaft, from gathering your tools and parts to testing the new crankshaft. By following these steps, you can save yourself money on mechanic fees and get your car running smoothly again.